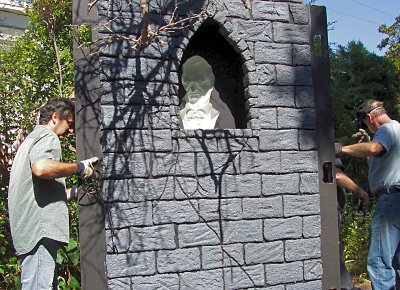
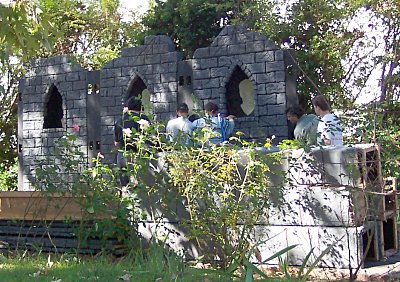
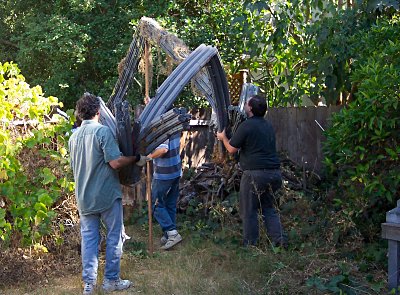
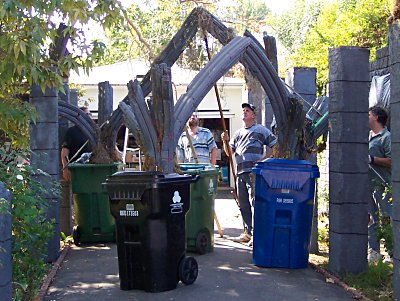
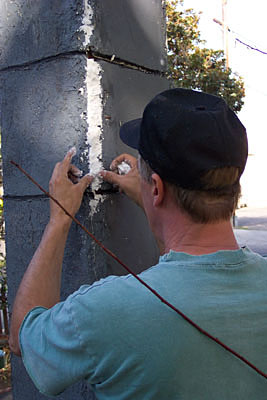
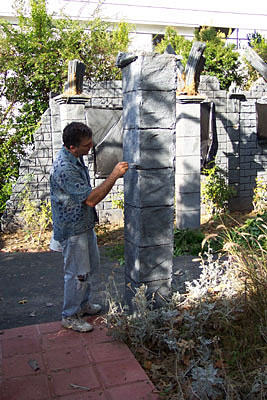
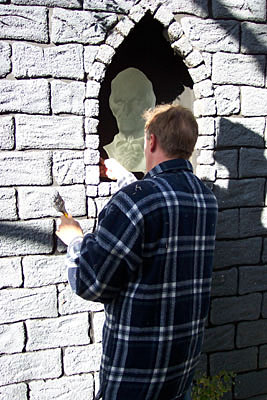
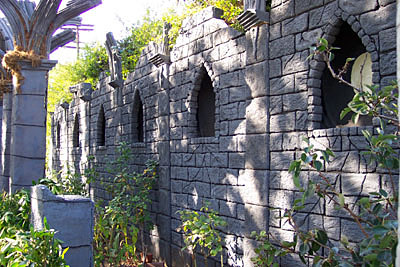
These pictures show some of the process of installing the Chapel Ruins. Construction pictures may be found Beneath the Hallowed Haunting Grounds from the detail page for the particular effect.
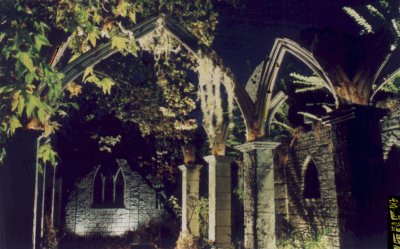 Chapel Ruins


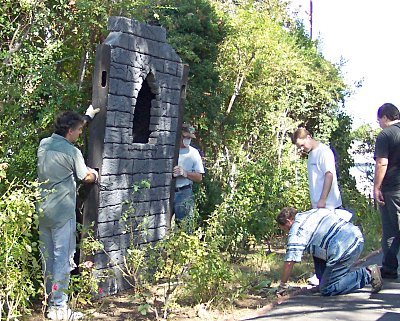


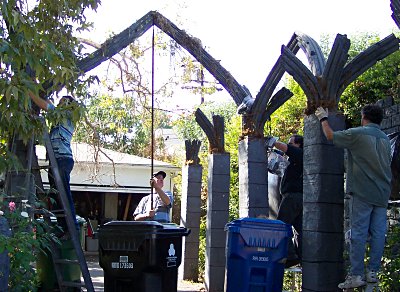


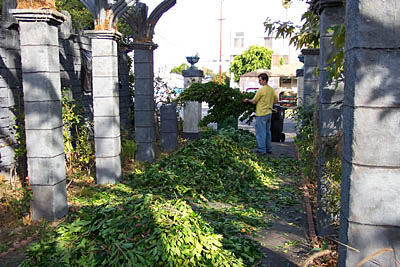

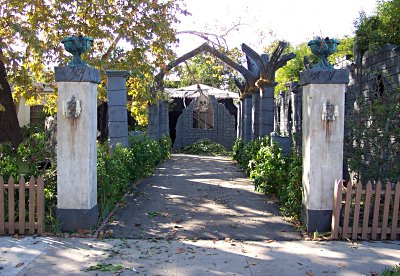
 To Chapel Ruins