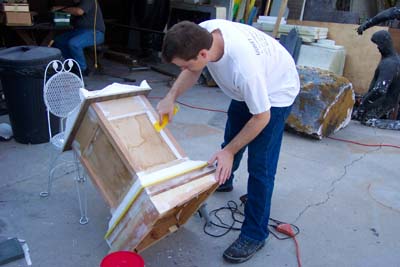
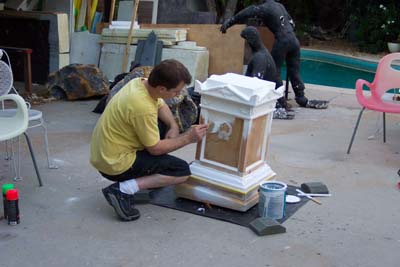
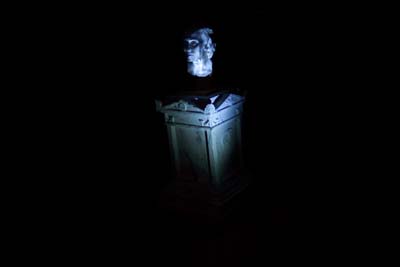
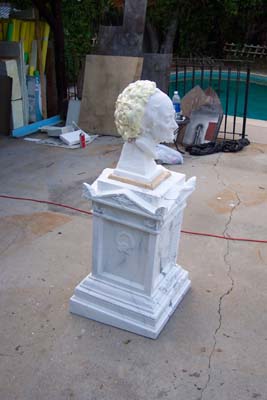
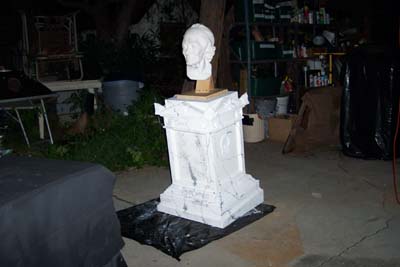
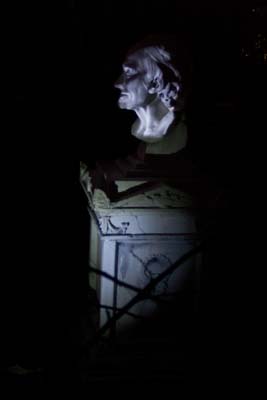
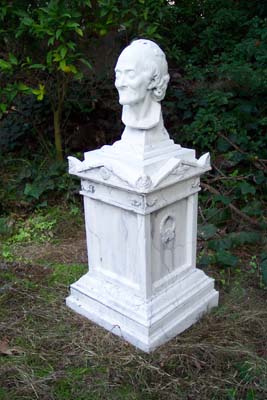
Nathan built the frame for the base of the monument from mostly scrap lumber.
After the base structure was assembled, trim pieces were added. Rounded foam strips slit from swimming-pool "noodles" make a nice bead. They are attached with one of our favorite materials... hot glue.
We had much white foam collected over the years. Glued into place and shaped with saws, rasps and sanders, it makes a nice base for more intricate carved patterns. It does make a mess and should not be inhaled; note the dust mask.
With the lower structure in place you can see the slanted cut of the base. The angle was needed for the for the projection effect to work properly. It also lends a slightly eerie feel to the prop.
More trimmed foam is added to the top of the base. Recesses and contours are carved with a Dremel or similar high-speed rotary tool.
Drywall joint compound is used to add bevels and fillets. The compound is also used to seal and smooth the foam and any flawed parts of the wood.
Detailed decorative trim pieces need to be made of a more durable material. Also, since several copies are needed, a mold will be made to cast them. Here Nathan sculpts one of the pieces.
This is the completed master part. It is made from polymer sculpting clay. Note that there are no "undercuts" that would cause problems with removing the master or the final parts fromt he mold.
Around each master part is placed a barrier to contain the molding material. They are also coated with a wax material so the master will cleanly release from the plaster. Paste wax or spray wax or commercial mold-release materials will all work.
The release-coated master parts are covered with plaster. The rest of the form is filled and leveled for strength and stability for the next process.
Great care is taken to ensure that all of the details of the master parts are filled with no voids or bubbles.
After the plaster cures, the mold is released from the master. The master may be destroyed in the process, depending on the materials and processes used. While the molds set, Nathan starts to cast parts using a previously ceated mold. These are small parts that will be painted and there are not very many of them too be made. A very quick and easy casting material is hot glue. It is durable, flexible, and easily affixed to wood or foam with... hot glue. A mold-release may be needed to assist in releasing the final parts.
The final parts are carefully removed from the plaster molds.
The cast details are affixed to the structure. Then the entire base is painted white as a base coat for a faux marble finish.
A white stone look is selected because this will be a projection surface. The color also helps to pick up the low light levels that are used in the show, revealing details and bringing balance to the scene.
The bust is mounted to the base and tests are done to verify the bust position, projection angles, lighting positions, levels, and colors.
The lighting angles, brightness, and color must be adjusted precisely for this effect to be convincing.
The face itself is a projection. The projector enclosure is low to make it less conspicuous, black to disappear in the darkness, and is eventually covered in foliage, or "growth," as we call it, for camoflage. The projector lens is carefully recessed so that it cannot be seen from any audience area. Note that the base has also has the beginnings of the "marble" finish.
The image of the face was created by taking three primary images and then manipulating them in Photoshop to create six key frames with the correct proportions and expressions for the effect. Those six frames were then morphed together to create the final sequence that lasted about twenty minutes.
Now that the effect geometry has been verified, the rest of the bust can be filled and finished. A regular wood saw is a good tool for making foam cuts.
A sharp saw can actually be used for quite precise work.
The build-up of the base of the bust is proceding.
The bust needed a new head of hair. Expanding insulation foam was used to cover the back of the head.
The initial hair look was interesting, but not quite what was intended for the final figure.
Nathan used the traditional tool to give the figure a little hair trim.
After the "hair" was trimmed, the voids were filled with drywall compound and the final shape was styled.
Finally complete and in position, adjustments are made to the system for maximum impact.
The opening of the eyes was a very eerie effect.
A profile view of the figure. This was an audience viewing angle in addition to the front angles.
This is where the prop was located. Very close to the front walk and the driveway, security for the figure and the equipment was a concern, so the bust and the electronics were removed after every show.
This is a full view of the left side of the prop.
Here is a close view of the applied cast pieces.
This is the "hero" viewing angle for the prop.
This is the least viewed angle for the prop.
This is a full view of the right side of the prop.
Here is a close view of the applied cast pieces on the right side of the prop.
This is the last view of the prop from the best angle. Note that the marble paint scheme has very limited detail because it was not easy to see and the focus of the audience was on the face of the figure.